Recently, I had the opportunity to speak with the students at Berry College in Rome, Georgia about performing music for brass and electronics. The presentation was part of a recital tour to Georgia, including visits to Dalton State College and Berry College. Unfortunately, the tour had to be cut short because of the arrival of hurricane Helene, which has impacted millions of people across the Southeast. I’m so grateful to my host, Dr. Ellie Jenkins, for the opportunity to visit. The material from the class handout can be found below, and a printable copy can be viewed and downloaded here.
Finding and Choosing Repertoire
- Theses, Dissertations, Journal articles relevant to your area
- Attend conferences, new music festivals, etc.
- Internet, YouTube, Naxos Music Library, Social Media
- Commissioning, consortia, etc.
- Considerations:
- Is the media fixed, or does it respond in live performance? Ex. Delay, distortion, loops, etc.
- If the work or works require additional equipment to perform, how easy is it to obtain, given one’s budget, access, and other factors?
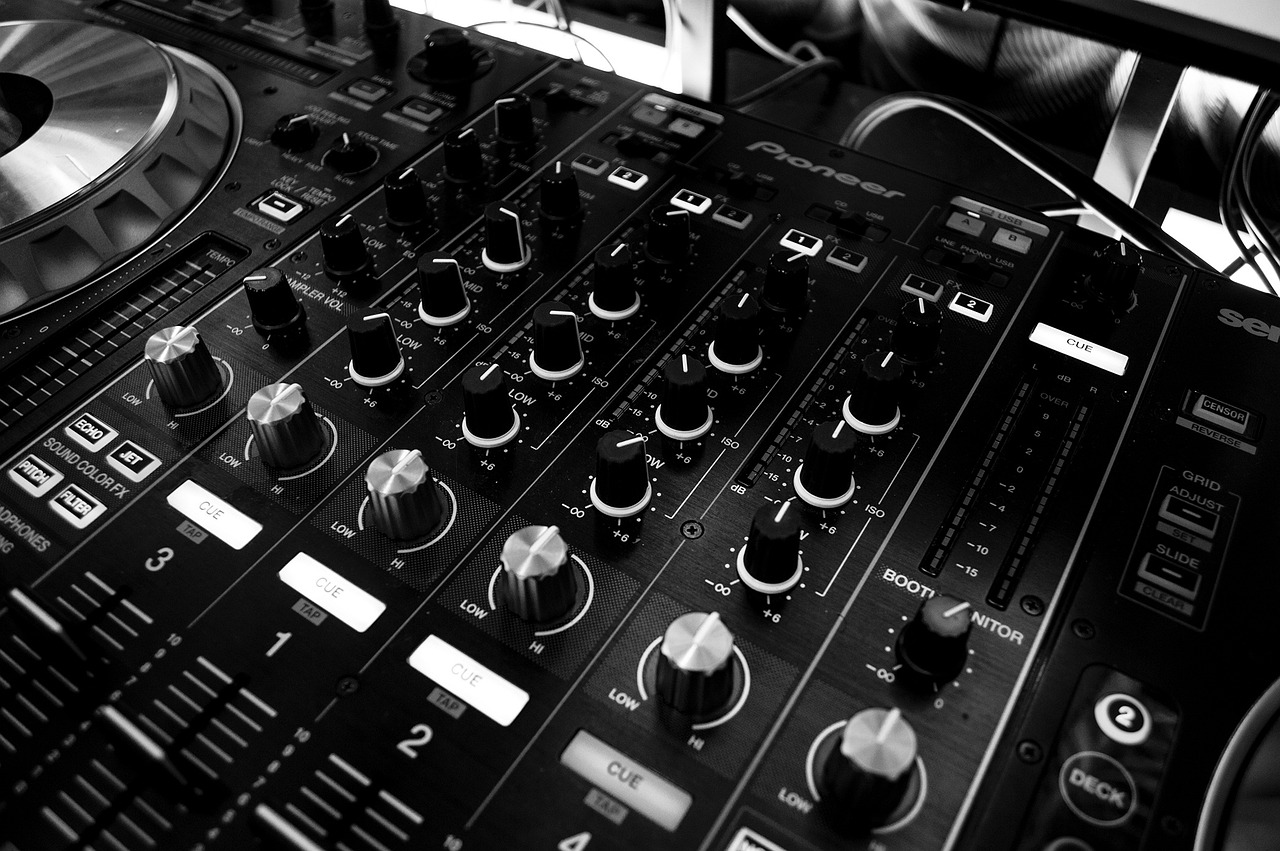
Equipment
- Can vary depending on the performance venue. Use in house equipment, or bring your own? Advantages and disadvantages to both.
- Minimum equipment if you wish to use your own:
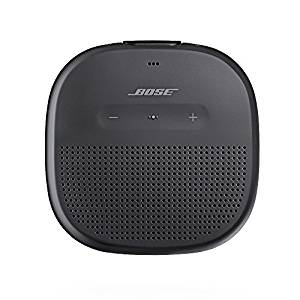
- Portable speaker, bluetooth or wired, choose based on your needs and budget. Brands I have used and can recommend: Rockville, JBL, Bose, Ultimate Ears
- Laptop, phone, or tablet
- Optional Equipment, depending on repertoire:
- Audio interface
- Silent Brass, for routing audio signal through effects pedals
- Condenser and/or dynamic microphones, as needed
- Individual effect pedals: delay, distortion, etc.
- Effects software for live performing: I use Apple’s Mainstage
- Video projector
- Preamps, mixers to adjust balance of multiple inputs
- Headphones, onstage monitor, if necessary to align with fixed media
- Cables, power cords, extension cords, surge protectors, batteries for all of the above.
Preparation
- Practice the work without the electronics, fixed or otherwise, until comfortable. This will avoid compounding the musical challenges of your part with navigating the technology. If fixed media, aim for the tempo markings in the piece. Tempo can be adjusted to some extent on fixed media tracks using software, but it can distort the audio (unless it’s MIDI, in which case you can change the tempo, key, etc. as much as you want).
- When putting your part together with fixed media, make note of time codes for major sections and subsections so you can practice just those passages without having to start the track at the beginning every time.
Performance Considerations
- Balance between electronics and live (or amplified) sound. Consider speaker placement, if using portable speakers. Performer can move up or down stage as well if necessary for different works.
- Distortion can occur at high playback levels, so soundcheck these using the performance equipment, if possible.
- As with all live performance, the acoustics and overall feel will be different onstage versus your practice room.
- If using multiple pieces of equipment, a piano bench or small table is helpful in making sure everything is laid out and accessible in an orderly way. Watch out for your cords!
- Mute stands, shelves, etc. that attach to your stand can be helpful.
- Consider the layout and setup of your program, and what’s necessary to transition from one work to the next. Percussionists think about this all the time, but brass players not so much.
- Turn all levels to zero and turn off all components every time. Plug in components first, then power on, then adjust levels. Avoid hot plugging.
- Relax and have fun sharing this repertoire!
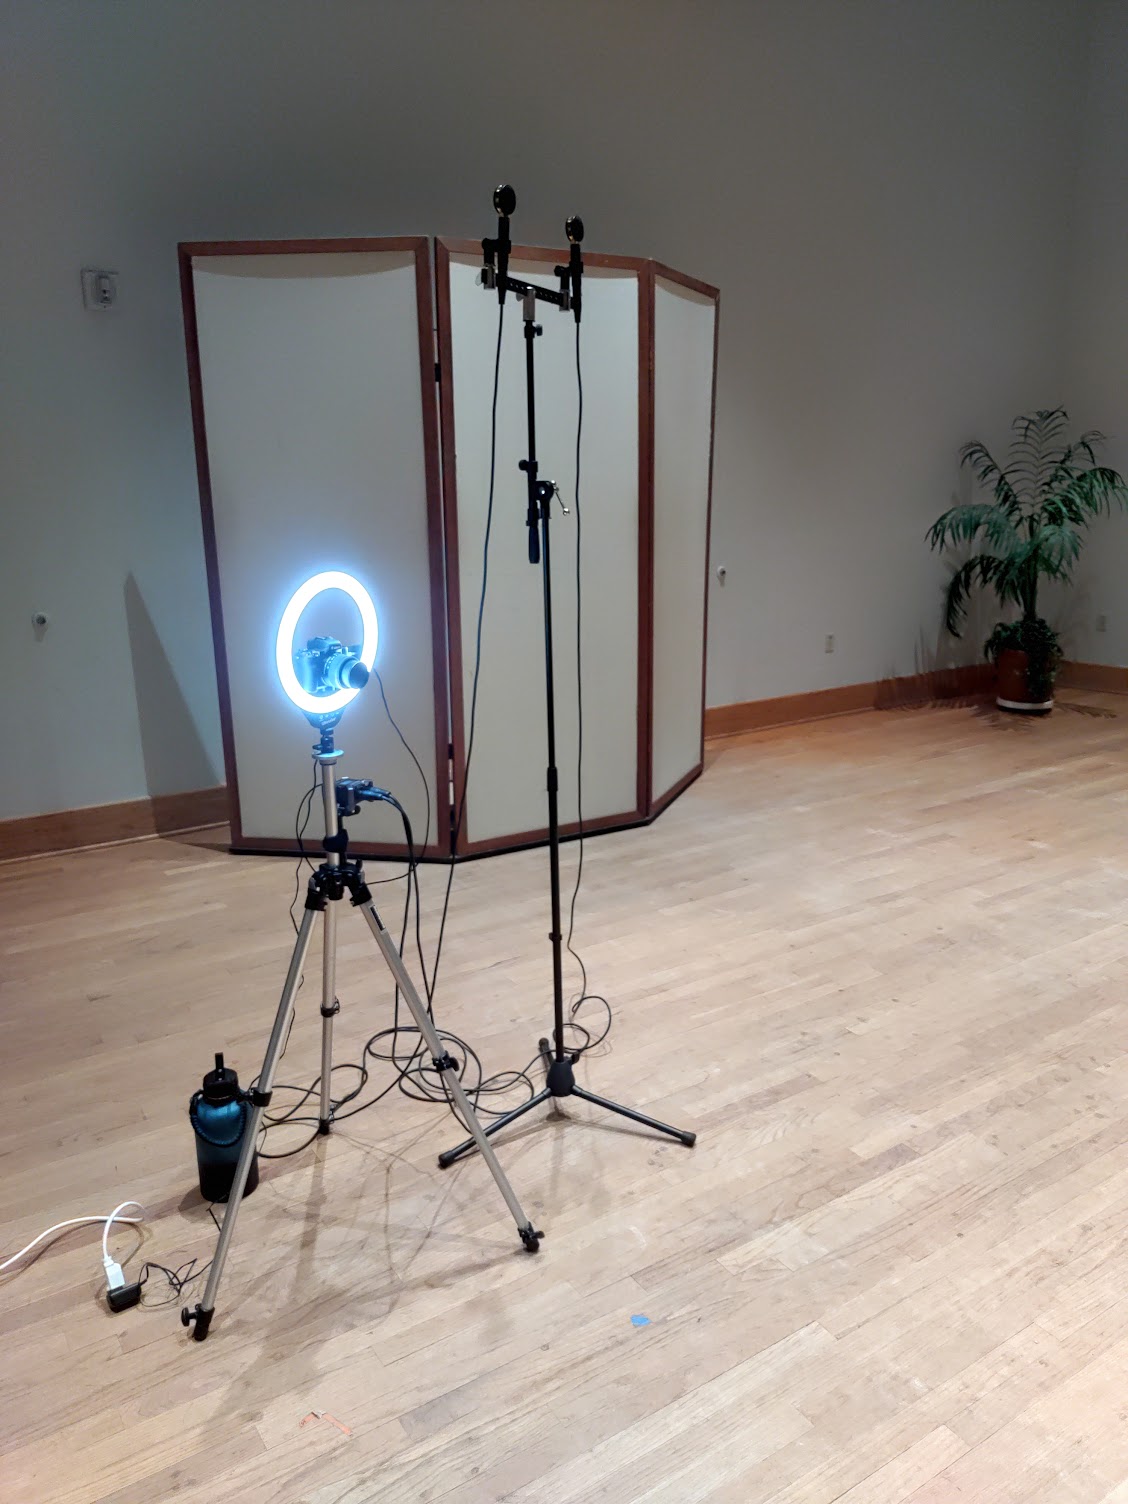


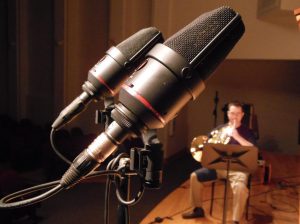 Departing a bit from my previous “Equipment Update” posts, this one is not about horns, mouthpieces, or mutes. Instead it is a basic introduction to recording equipment for the classical musician, with some inexpensive, but functional, recommendations. I’ve owned recording equipment of one kind or another since my undergraduate days, starting with a