Several months ago I wrote about some basic modifications I did to my home office/practice room to make it more user-friendly. Here’s my closing paragraph (read the entire article here).
It might not be the biggest, or most acoustically perfect, place to practice, but it gets the job done! To sum up, when putting together your home practice room, the following areas are worth considering.
- Floor covering (carpet, rug, etc.)
- Window treatments (curtains, blinds)
- Storage space
- Decorations/wall art
- Other sound reducing materials, such as foam or packing blankets
Until recently I hadn’t devoted much time to exploring the last category in the above list – other sound reducing materials – but a few weekends ago my wife and I went on a quest to find/create some better sound conditioning for the room. My main goal with this project was to eliminate or reduce slap echo , caused in this case by two parallel drywall surfaces. After a bit of searching online, I decided to go with some ATS wedge foam acoustic panels, sold here in a package of six at a reasonable price. Each panel was pre-cut into 2 feet by 2 feet squares. It is possible to buy this material in larger sections and cut it yourself, but I didn’t want to mess with that for this endeavor. Once the panels arrived, the next step was to figure out how and where to mount them. I knew that I wanted to cover as much of the bare walls as possible, especially in places that were likely to create an echo. It is possible to attach the panels directly to the wall using glue or another adhesive, but if you ever want to remove them you can damage both the panel and the section of wall where it’s mounted. Since the panels were very light and also a bit flimsy, the best option in this case was to mount the panels to foam board first, and then attach the foam board to the desired section of wall. After cutting the foam board into 2’X2′ sections, a hot glue gun (low temperature) worked very well to attach the panels to them.
To mount the foam board/acoustic panel units, we used Velcro picture hanging strips. They are light, strong, and very easy to install. They are also advertised as being easy to remove, which will be nice if we want to remove or reposition the panels. Here are some snapshots of the finished product, starting with the door (2 panels attached).

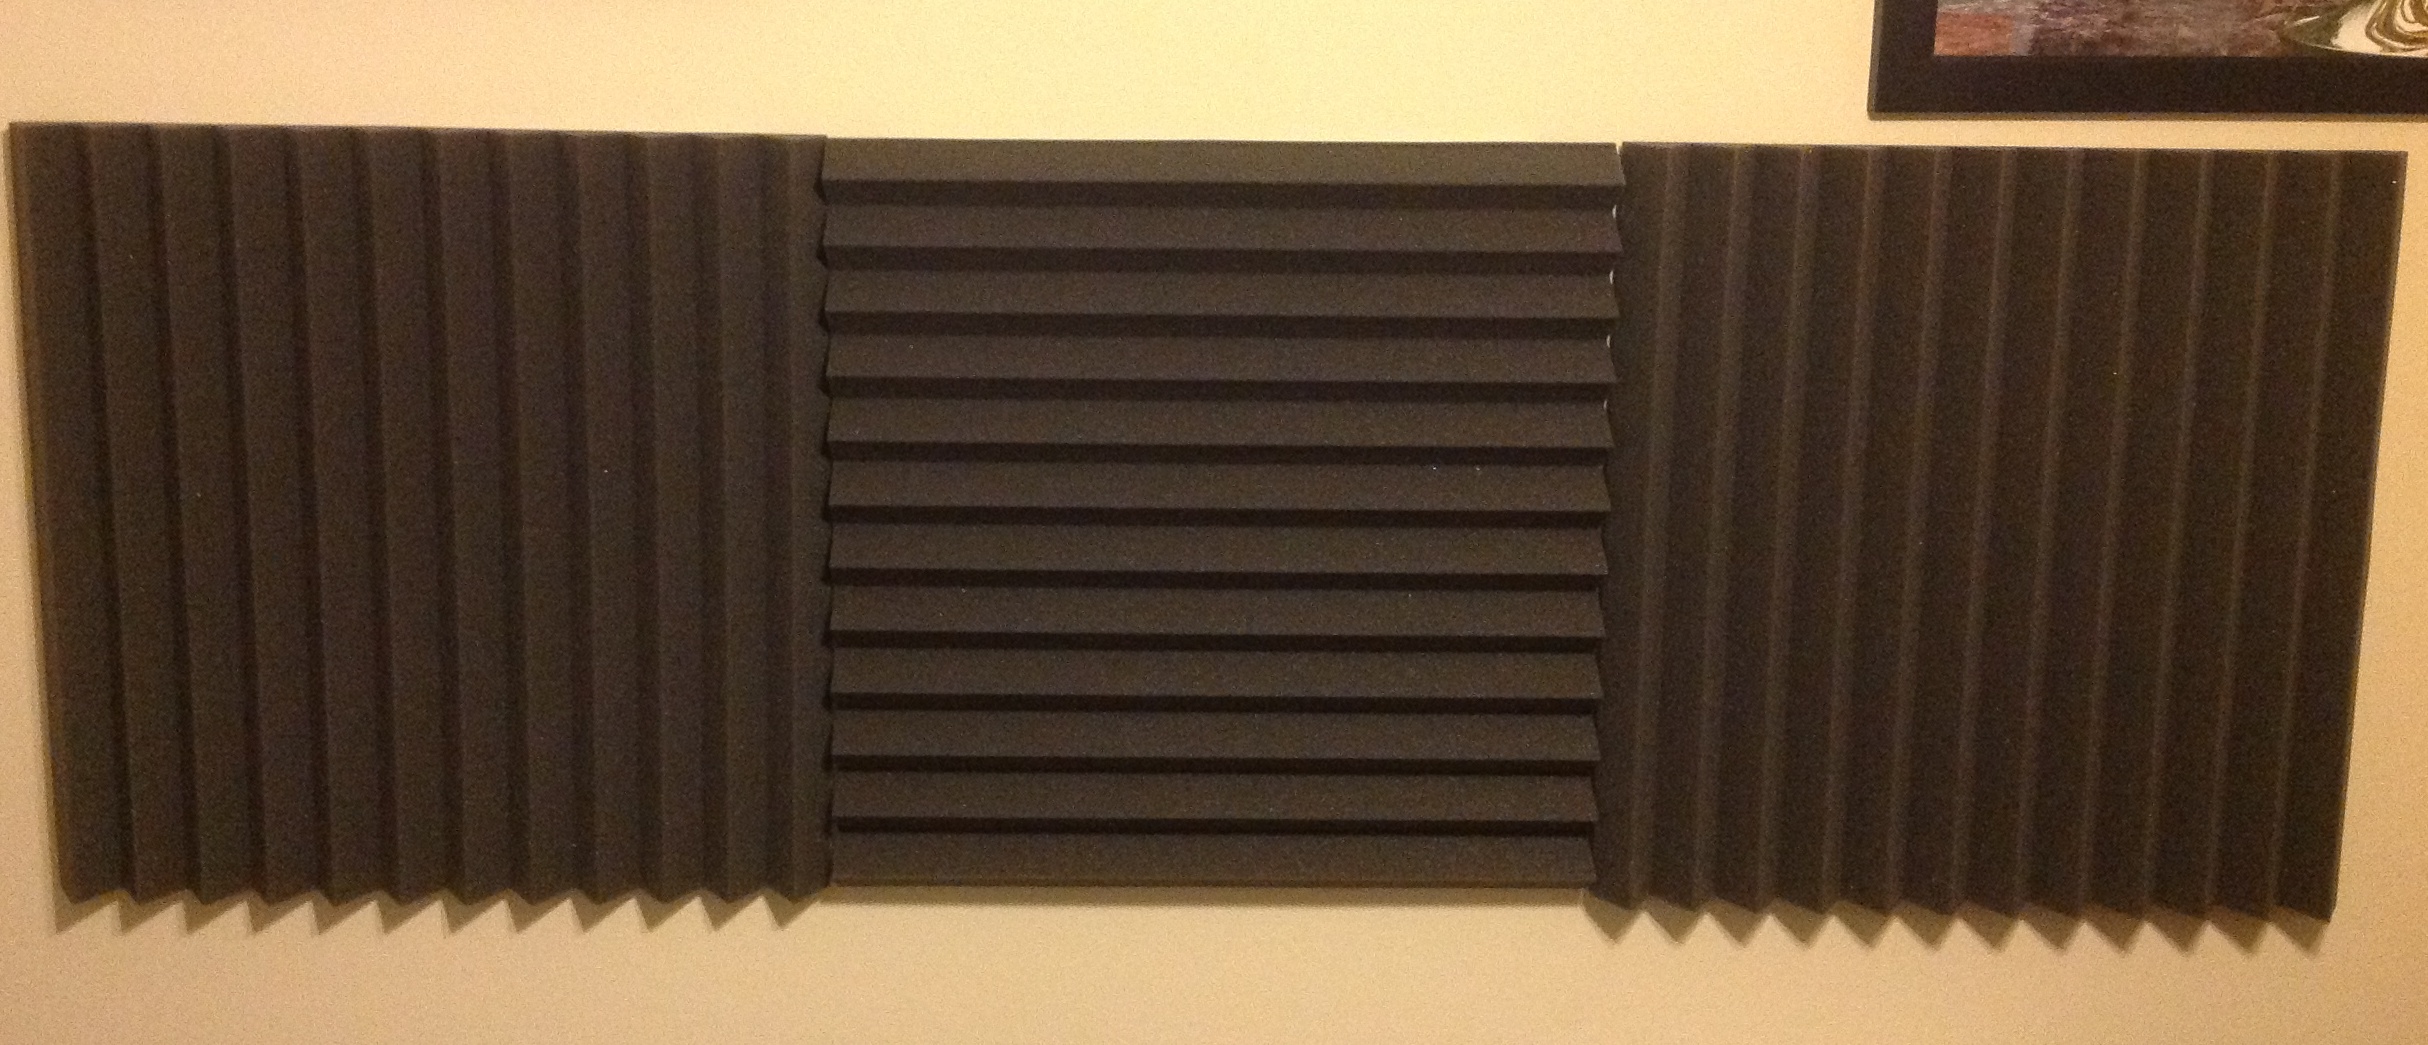
And now a section of bare wall.
And one more section of wall.
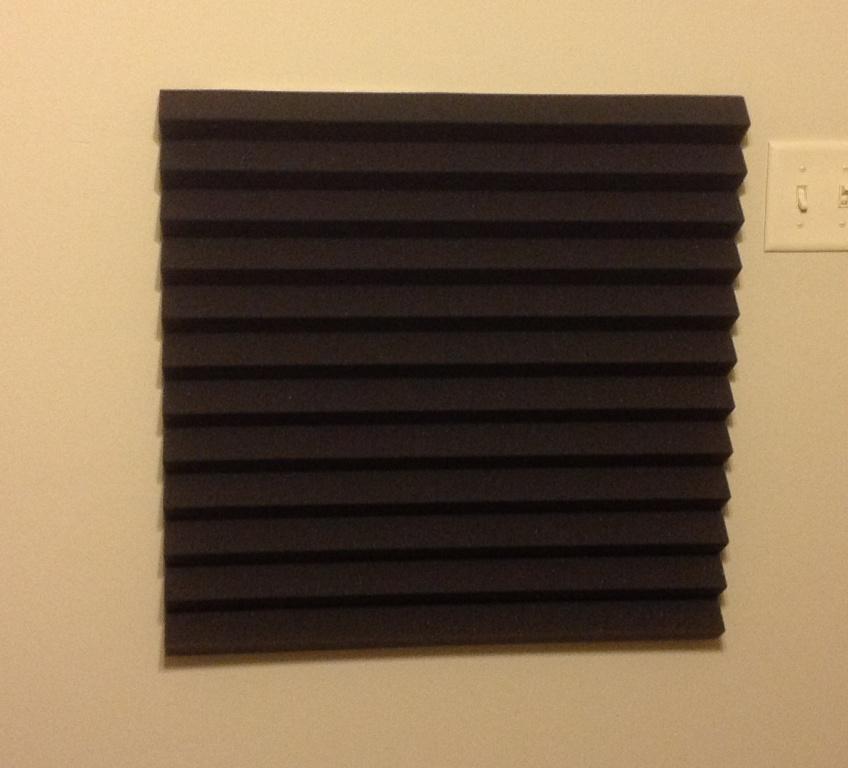
I read somewhere that alternating the direction of the ridges optimizes the sound absorption. Of course, the main question is “do they work?” Although I didn’t measure the decibel levels before and after installing the panels, I do think that they help reduce the amount of slap echo. The room is more comfortable to practice in now, which was the goal. Although there are more effective (and more expensive) ways to sound condition a room, these panels worked very well for the price and difficulty of installation.
